Monday 6 December 2010

6 days diary of a coppice worker

Thursday 16th Nov Tors Wood, coppicing hazel - 11 stools in total
18 stakes
9 binders
80+ weaving rods
10 small basket rods
18 pea sticks
 Martin cut: 3 white willow, 10 hawthorn, 5 poplars, 3 1yr willow, 1 viminalis
Bonfire + logs.


Weds 17th Nov - Tors Wood
10 stakes
11 binders
16 beanpoles
30 weaving rods
4 pea sticks

Martin cut: 2 white willows
5 hawthorn
2 shrub willow


Sun 28th Nov - Tors Wood
Walking along meadow  towards Tors wood in the afternoon before sunset. Saw 2 muntjac playing along the hedge. -7 degree C in the morning. Not above -2degree C all day. Snow, terrific red sunset. Woodcock.

Mon 29th Nov - Spinney 1
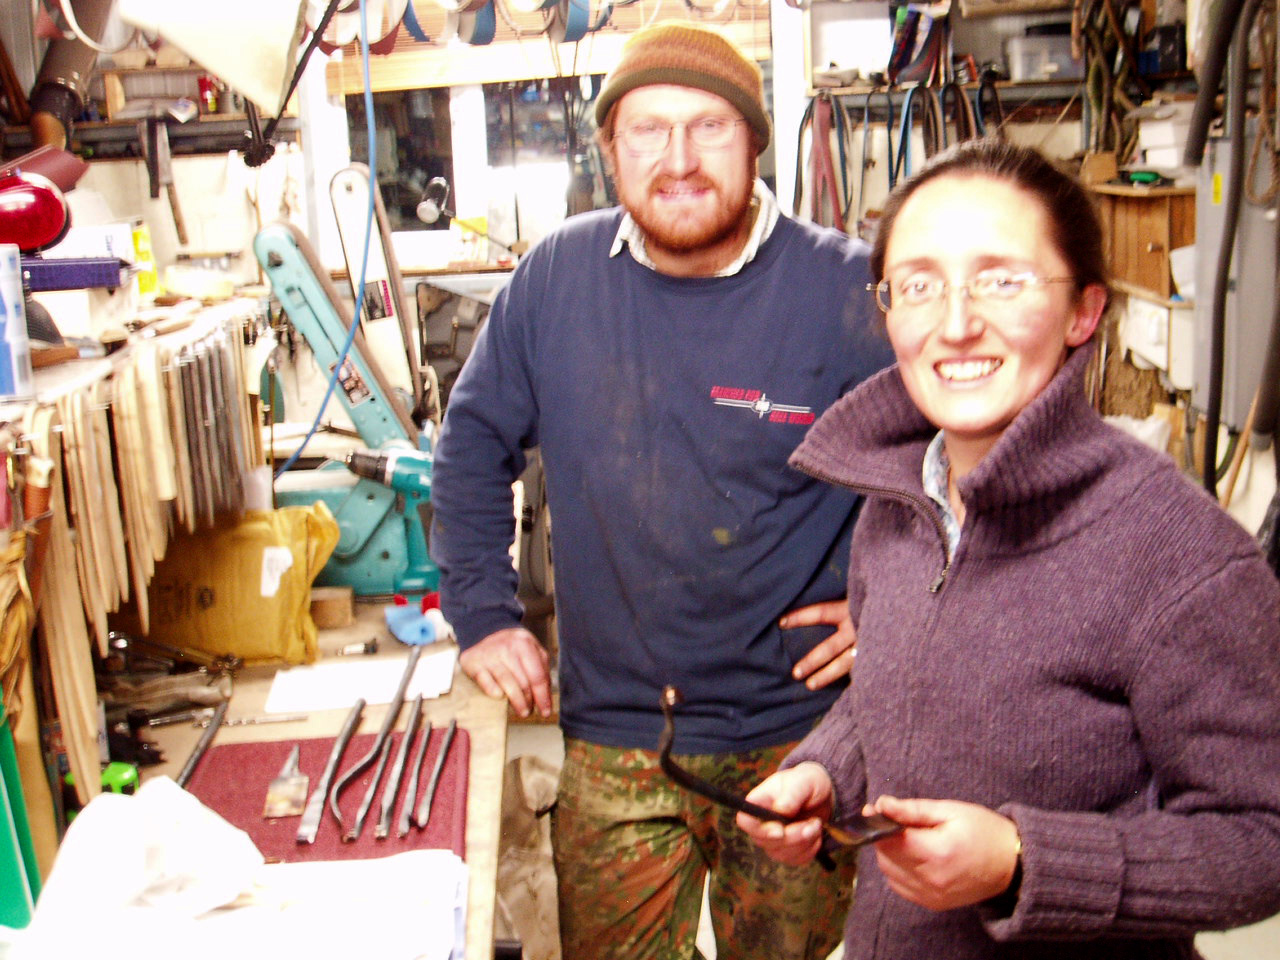
Finished coppicing willows in Spinney 1 and dogwood on opposite bank. Snow still on ground. Started laying hedge from the corner nearest farmhouse. Martin fell in the ditch pulling out a post with his legs stuck up in the air, ha ha ha.. Toasted chicken sandwiches. Kingfisher spotted. Nice bonfire.


Tues 30th Nov - Spinney 1
Hedgelaying from corner with crab apple trees. Craig and Martin took lower branches off the ash and oak trees in the hedge line. Disturbed squirrel in ash tree. Toasted chicken baps, mince pies. Meg the dog stole my hot potato with cheese I was saving for late afternoon break. Kingfisher, snow flurries.


Wed 1st Dec Spinney 1
Hedgelaying with Martin up to one hawthorn tree overhanging the brook. Waiting for permission to pollard the ash tree with a crack in it. Snow drifts. -2 deg C.
* Need to put more hazel in near the hedge and plant up hedge.


Mon 6th Dec - Tors Wood
Coppiced 9 hazel stools making:
29 stakes
24 binders
20 beanpoles
50 ish weaving sticks
70ish basket weavers
10 pea sticks
9 faggots
1 gandalf staff
2 Y sticks
+ logs.

Martin cut 20 poplar and white willow for converting into fence rails. Left ready for splitting and cleaving.
Prepared posts cut to height  5ft in poplar for a cleaving break and log store.

-6 deg C start in morning. Drove down in truck and collected previous stakes. Delivered corrugated sheets and pallets for log stacks. HAW frost, snow still on ground. Woodcock flew out of shrub near ride. Curlew, robin, goldfinch, magpie. Lovely frosty sunny day. Sparkling white tips to poplars in the top of the trees caught in the sunlight. Mist falling towards 4pm. Ground still frozen walking back up field.


Friday 26 November 2010

Tool forging with Ben Orford

In November of 2010 I did two days with Ben Orford in his workshop tool making. I wanted a few more bowl turning gouges and chisels after making a bowl lathe with him earlier in the year. Blacksmithing is not something I would have tried if I had not had a tour of his workshop previously, as I stupidly presumed this was beyond me. Girls! All I can say is it was totally awesome, give it a go!.

Check out this video if you want a tour of Ben's workshop (beware of workshop envy chaps!)
 

Here I am with my haul of new tools on the bench, after a blister half way across my hand and a lot of hammering of hot metal. I'm so glad we got to work indoors as my friend Simon and I were camping in November!

Me holding the products of my labour,
with Ben Orford at his workshop in Herefordshire.

My good friend Simon who joined
me for the 2 days.

2 spindle gouges - one roughing out gouge
and a flat chisel. The tangs were very tricky!


Ben is an excellent teacher, if you're interested in Greenwood work or knife making check out his website for a very rewarding learning experience and quality crafted tools. www.benorford.com

Saturday 20 November 2010

Woodlanders Wagon


 Over the last couple of months I've been helping Martin build a Wagon which we can use when doing coppice and woodland work over in Leicestershire. It's a bit like a gypsy caravan, but built without a plan!  It has a happy sort of Heath Robinson feel to it, where we work out what needs doing as we go along... with just about enough forethought to hopefully save us from any major errors...so far, so good!

I think we are both loving this project to bits though, and it's becoming a wagon with great expectations. Looking forward to hours whittling by the stove after a day working in the wood.

I just hope it goes for a test drive sooner rather than later though as Martin has been taking some of the supporting strutts out in order to make space for the stove and bed. My eyebrows did raise a little!? "Are you sure about that I asked?". "It'll be like an aircraft, we'll put 4' panels of ply in the corners instead", said Martin.
Alder hoops square lashed to the frame to make the barrel shape.

Martin trimming the front and back walls to a curved shape.
The tongue and groove wood came from an old chicken shed. 

Canvas pulled back while the front and back is cut to shape.
Watch  this space for more pics soon...we are ready to cut windows in the front panel to match Martin's lovely half cut door with diamond shape in. Then fitting the canvas properly and fixing the bed and stove in place. Yee Haa!!!

Friday 19 November 2010

Baaaa


No, it's not Baaa Humbug time. It's my Sheep Seat. (Don't say that too fast by the way.)

This project had been hanging around since last year. Greenwood turned ash legs on a poplar seat, steam bent sweet chestnut back hoops finally went on this autumn, and then the seat cushion transpired last month.


It is actually what I intended it to look like, apart from the legs being too high - it should be a much more squat seat height. Still I think it's rather amusing and bizarre!

It's on show in The Gallery at Bishops Castle, Shropshire over Christmas - and is for sale.
Tacking a cotton lining over the seat padding to create the dome shape.

Poplar seat with steam bent sweet chestnut hoops in before the top cushion is added.

Ash turned legs.
Sheep Seat by Elizabeth Cadd, Nov 2010.

Finished Sheep Seat, Nov 2010.

Ladybird and little stools

These little stools are an experiment with greenwood work and upholstry. One little ladybird with 6 silver birch legs and padded ash seat. The other tiny footstool or seat with 3 different turned legs and a sycamore padded top.


Thursday 14 October 2010

Social Forestry Course - Day 1

Today I went on Day 1 of the Social Forestry Course at the Greenwood Centre, Shropshire. Our tutor was Kenny Comain, Forester and Arboriculturalist, previously working as the Social Forestry Officer at the Greenwood Centre, and now running a Social Forestry project for people on the Autistic Spectrum in Leicestershire.  Kenny asked us what we thought Social Forestry meant - Being together in a wood? we answered... people making decisions together, making, doing, being well. 

In social forestry there is a specific social reason for what you're doing. The aim may be to get your woodland managed, but the outcome is always social, and the site is always forestry.

I love the way Kenny said...

 "I'm going to take you back to your Mother....
Nature"


Ask yourself, What is a tree? 


This is one of those questions that made me stop and think.You can answer that question on many levels. I sat and thought about how amazing they are, how incomprehensibly amazing they are. We looked at tree biology, and then types of woodland management including coppice, pollarding, clear fell and replant, continuous cover, agroforestry, woodland gardening, strip clearing and planting in new ground.

Social Forestry Objectives
We looked at the objectives of Social Forestry. On the social side the benefits were for creativity, exercise, amenity, wellbeing, interpersonal skills, employement, craft skills, financial, confidence, self esteem, nature connection and creating an awareness that nature is important.On the forestry side the objectives were for timber production, sustainability, diversity of age class, species, habitat and structure, for beauty, conserving endangered red list species, woodfuel, food, erosion control and coppice crafts materials. It was emphasized that looking at any of these in isolation is a problem. We must take the overall view for a social forestry project to be successful.

Designing A Social Forestry Project

We were asked to pick a client group and to think about their needs.What preparations do you need to make for this to happen? If it's a 10 week programme, what can you achieve in this time? We were asked to do a timeline of the first day of our projects. Overall, things have to be safe and you need to be happy with things before going ahead.  Physical and emotional safety of the participants will come from the safe environment you create. Plan a project with the appropriate level of challenge - too challenging and it won't help their self esteem, not enough challenge and they can loose interest.

Monday 6 September 2010

Malpas Rally, Cheshire. - 11th & 12th September 2010

This weekend (Sept 11th & 12th) I'll be doing a wood turning demo at the Malpas Vintage Rally, Cheshire. The rally has an amazing collection of steam engines, vintage tractors, gypsy caravans, horse and carts, vintage cars, military vehicles, commercial vans, motorcycles, fairground, machinery and working demonstrations.

You find the rally at Hampton, Malpas, Cheshire. Alongside the A41, fourteen miles south of Chester, six miles north of Whitchurch, Shropshire. Post Code SY14 8JN.

Gate prices Adult £8, Seniors £7, Children £3, under 5 free. Family ticket £20.
Dogs welcome on leads. Public camping available.
More info: www.malpas-yesteryear-rally.co.uk/rally.htm


Friday 3 September 2010

Looking at Forest Schools


This morning I met with the Shropshire, Telford & Wrekin FEI (Forest Education Initiative) Forest School Cluster group for a 'Forest School Practitioners Day'. What a mouthful! Teachers or Forest School Practitioners and Trainers came together for networking and a few outdoor practical workshops. I went along to see if it might be up my street.

Some of you who know me, may have some idea of just how many practical arts and crafts skills I've racked up over the years..I can hardly keep track of them myself. Put together with my love of outdoors, woodlands, fire, conservation, greenwood working, rural crafts, and a willingness to work with other people, it's all coming together in a melting pot of creative outdoor craftiness - ripe for the picking.

I had teachers telling me they didn't have any ideas for activities for their second and third term projects, and trainers telling me they needed more practical workshops to share with other workshop leaders. In the middle is me thinking, I can do that, I've got too many ideas, and I can show you how to do that too..

Somehow I feel strangely needed all of a sudden ;-))

The pictures on the left are of the simple peg loom weaving with sheep wool and needle felting workshop with Sara of Shropshire Wildlife Trust.

Then a workshop on Woodworking ideas for Foundation Level (that's age 4+) with Laura Harvey of Secret Hills Discovery Centre, making tiny tables and stick insects.
Glue is used for sticking leaves and sticks together to make things like snowmen. 
For this workshop they generally use a half size bow saw, a hand drill, potato peelers for whittling sticks and tenons, a billhook and mallet for splitting - sharing the tasks and all under close adult supervision.

Also a nice book called 'Stick Man' - I've got some bedtime reading to do here.


The World's BIGGEST Wild Telescopes


This is the design for The World's BIGGEST Wild Telescopes. I'm helping artists Janice Barrett and Sue Campbell build this sculpture from willow and hedgerow materials in the Onny Meadow as part of the Craven Arms Art Walk next weekend.

I'm here for part of my Community Arts training (practical) gaining hands-on experience of seeing artists working with the public. We are offering free willow weaving workshops to anyone who is interested in lending a hand.

Liz and Janice cutting willow in Much Wenlock
It is proving to be an incredibly positive experience for me and I've met a lot of great people on the training course. I'm hoping Mairi - (photographic artist and fellow trainee ) who has been taking snaps of us in various stages of willowness -  harvesting and construction, will pick out some not too unflattering examples of the work in progress.In fact, here are some of her great photos...have a look at her website: www.mairiturnerphotography.kk5.org

Liz and Janice cutting willow in Much Wenlock.

Me having too much fun weaving.
So far we've harvested willow from Much Wenlock (although it's not quite the right time of year for doing this), worked on small scopes and today worked on the larger scopes. Children and visitors have been making willow fans for filling in the platform pad supports, collecting material from the hedges and other weeds growing about like teasels and ivy for decorative weaving.

Come along if you can - see the list of dates if you fancy having a go.
Liz working on a mini- scope in it's frame which will be added to the main construction.

Liz and Julia weaving a giant telescope.
Kirsty weaving mini-scopes.

Sue and Janice, lead artists on the Giant Telescopes

Patrick Dougherty - Stick Man

I am hoping to be working on a project with Patrick Dougherty as a volunteer in France next year during June 2011 at Trévarez, helping build one of his sculptures. Although I have practically no details of what I'll be helping with exactly, it's probably willow, and it's probably big!

Somewhere in the Domaine de Trévarez in gardens, abbey or chateax, something will be woven. Visit www.cdp29.fr. for info on the Domaine de Trévarez.


Here is a link to Patrick Dougherty's website: www.stickwork.net

These sculptures are so stunning aren't they?

Clissett Wood Open Weekend 18th & 19th Sept 2010


Open Weekend at Clissett Wood coming up - for tea and cakes, greenwood working & blacksmithing demos, baskets, furniture, felted birds, chainsaw carving, cart rides and more!

Come along and enjoy being in the wood.


For more info contact Gudrun Leitz Tel: 01531 640125
email gudrun@greenwoodwork.co.uk

Wednesday 25 August 2010

Cherry plum burr turning and carving


This is an object of no real function whatsoever... just an interesting piece of wood with great raspberry ripple colours.

I turned it off-centre on the bowl lathe hoping to see some interesting patterns in the burr, but that was relatively plain all the way through. I then carved the bowl some more with a spoon gouge so it has a more bulbous inner.

The lip or rim of this piece was possibly the most interesting result of this project and I like the way it falls away from the top, although if I'd thought about it a bit more before taking it off the lathe I would have tidied that up a lot more.  I hand carved the back of the rim to make it less weighty.

And these were the helpful suggestions as to what it is:

An otters head sticking out of the water.

A hat.

An animal skull.

Darth Vaders mask.

Something for flower arranging.

Objet d'art.

A berberis spoon and room for improvement

A little berberis spoon, had a bit of a crack in the bowl, but I thought I'd persevere because it's such a great coloured wood.

Although some of you may think this would go with the 'natures ugly bowl series', as the twist in the handle makes it a bit impractical to use. If my spoons start this badly, I tell myself, then surely the scope for improvement is immense...and it can only get better... (keep repeating until it does (get better that is))...